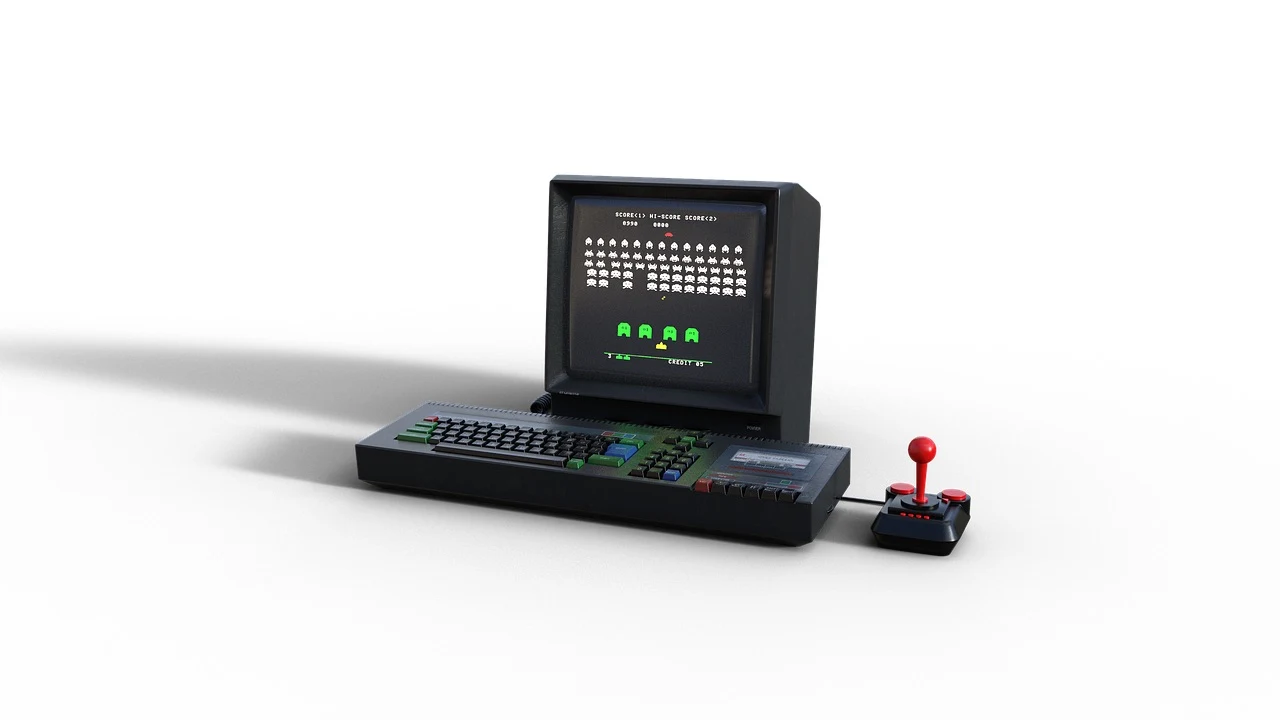
ドット絵には、人一倍こだわりたい、ユゲタです。
前回、久しぶりにドット絵を描いて、なんとなくテンションが上ってしましましたが、ドット絵を表示してアニメーションさせるというのも、さらに気分が高まります。
インベーダゲームの第二回は、前回素材を表示してアニメーションさせてみたいと思います。
本日のIT謎掛け
「ドット絵」と、かけまして・・・
「ツンデレ」と、ときます。
そのココロは・・・
カドのある感じがたまりません。
敵キャラアニメーション表示
<!DOCTYPE html>
<html>
<head>
  <meta charset="utf-8">
  <title>Invader</title>
  <meta name="viewport" content="width=device-width, initial-scale=1, user-scalable=no">
  <style>
    html,body{
      width:100%;
      height:100%;
      margin:0;
      padding:0;
      overflow:hidden;
      background-color:#eee;
    }
    #mycanvas{
      border:1px solid #ccc;
      display:block;
      margin:0 auto;
      background-color:white;
    }
  </style>
  <script src="invader.js"></script>

</head>
<body>
  <canvas id="mycanvas" width="400" height="600">not canvas</canvas>
</body>
</html>
(function(w,d){

  var event = function(target, mode, func , flg){
    flg = (flg) ? flg : false;
		if (target.addEventListener){target.addEventListener(mode, func, flg)}
		else{target.attachEvent('on' + mode, function(){func.call(target , window.event)})}
  };

  var MAIN = function(canvas_selector){
    this.canvas_selector = canvas_selector || "canvas";
    this.canvas_elm = d.querySelector(this.canvas_selector);
    this.ctx = this.canvas_elm.getContext("2d");
    this.ctx.imageSmoothingEnabled       = false;
    this.ctx.mozImageSmoothingEnabled    = false;
    this.ctx.webkitImageSmoothingEnabled = false;
    this.ctx.msImageSmoothingEnabled     = false;

    this.set_imageMax();
    this.pattern = 0;
    this.view(this.pattern);
    this.animation_roop(30);
  };

  var __images = {
    "crab" : [
      {
        src : "images/dot/crab_1.png",
        x : 10, y : 64,
        w : 64, h : 64
      },
      {
        src : "images/dot/crab_2.png",
        x : 10, y : 64,
        w : 64, h : 64
      }
    ],
    "octpus" : [
      {
        src : "images/dot/octpus_1.png",
        x : 80, y : 64,
        w : 64, h : 64
      },
      {
        src : "images/dot/octpus_2.png",
        x : 80, y : 64,
        w : 64, h : 64
      }
    ],
    "squid" : [
      {
        src : "images/dot/squid_1.png",
        x : 150, y : 64,
        w : 64, h : 64
      },
      {
        src : "images/dot/squid_2.png",
        x : 150, y : 64,
        w : 64, h : 64
      }
    ]
  };

  MAIN.prototype.clear = function(){
    this.ctx.clearRect(0, 0,  this.canvas_elm.width,  this.canvas_elm.height);
  };

  MAIN.prototype.view = function(pattern){
    for(var i in __images){
      this.image(__images[i][pattern]);
    }
  }

  MAIN.prototype.image_cache = [];
  MAIN.prototype.image = function(options){
    if(!this.canvas_elm){return;}
    if(!options){return;}
    // 新規読み込み
    if(typeof this.image_cache[options.src] === "undefined"){
      this.image_cache[options.src] = new Image();
      var img = this.image_cache[options.src];
      img.src = options.src;
      img.onload = (function(options){
        this.image_draw(options , img);
      }).bind(this , options);
    }
    // キャッシュ利用
    else{
      this.image_draw(options , img);
    }

  };

  MAIN.prototype.image_draw = function(options){
    if(typeof this.image_cache[options.src] === "undefined"){return}
    var img = this.image_cache[options.src];
    this.ctx.drawImage(img , options.x, options.y ,options.w , options.h);
  };

  MAIN.prototype.animation_roop = function(time){
    var func = (function(e){this.animation(e)}).bind(this);

    if(window.requestAnimationFrame
    ||  window.webkitRequestAnimationFrame
    ||  window.mozRequestAnimationFrame
    ||  window.oRequestAnimationFrame
    ||  window.msRequestAnimationFrame){
      window.requestAnimationFrame(func);
    }
    else{
      time = time || 10;
      anim_flg = setTimeout(func , time);
    }
  };

  MAIN.prototype.animation = function(){
    this.clear();
    this.nextPattern(300);
    this.view(this.pattern);
    this.animation_roop(30);
  }
  MAIN.prototype.nextPattern = function(frame_rate){
    this.prev_time = this.prev_time || 0;
    if((+new Date()) - this.prev_time < frame_rate){return}
    this.prev_time = (+new Date());

    this.pattern++;
    if(this.pattern >= this.image_max){
      this.pattern = 0;
    }
  };

  MAIN.prototype.set_imageMax = function(){
    for(var i in __images){
      this.image_max = __images[i].length;
      break;
    }
  };

  event(w , "load" , function(){new MAIN("#mycanvas")});
})(window,document);
解説
前回作ったドット絵のアニメーションパターンが見たかったので、敵キャラのみの表示にしましたが、
アニメーションをさせるのに、コツがいることが理解できました。
画面表示する、それぞれのキャラクタごとに、アニメーションパターンと、動くタイミングが存在するので、それをメモリで管理しなければいけません。
まだ実行してませんが、cannon(自機)の動きは、リアルタイムでフルタイムで行う一方、キャラクタアニメーションは、一定のフレームレートを維持して進行しないといけないという事ですね。
今回は、この2パターンですが、キャラクターがそれぞれフレームレートが違って、アニメーションパターン数が違ってくると、非常にややこしい処理が増えて、同時にcpuへの圧迫も考えなければいけないので、この点を効率的に行う必要がありますね。
あと、今回行った処理で、ドット絵を表示する際は、canvasのcontextのデフォルトスムーズ処理がtrueになっているところを、falseに変更して上げる必要がありました。
this.ctx = this.canvas_elm.getContext("2d");
this.ctx.imageSmoothingEnabled       = false;
this.ctx.mozImageSmoothingEnabled    = false;
this.ctx.webkitImageSmoothingEnabled = false;
this.ctx.msImageSmoothingEnabled     = false;
この箇所ですね。
ブラウザ毎に対応するために、ベンダープレフィックスもセットする必要があるので、なんだかめんどくさいですね。
Github
ソースは以下にアップしています。 : tag(v0.1)
https://github.com/yugeta/game_invader
 ドット絵には、人一倍こだわりたい、ユゲタです。
前回、久しぶりにドット絵を描いて、なんとなくテンションが上ってしましましたが、ドット絵を表示してアニメーションさせるというのも、さらに気分が高まります。
インベーダゲームの第二回は、前回素材を表示してアニメーションさせてみたいと思います。


0 件のコメント:
コメントを投稿